Modern Gazebo Assembly Time Requirements: A 2026 Guide
Table of Contents
- Gazebo Assembly Time by Type: Realistic Estimates
- Factors That Affect Modern Gazebo Assembly Time
- Gazebo Assembly Site Preparation: What to Do Before You Unbox
- Tools Needed for Gazebo Construction
- Step-by-Step Assembly Overview
- Gazebo Installation Labor Cost: DIY vs. Hiring Help
- Safety Precautions and Post-Assembly Maintenance
- Conclusion
Last Updated: August 27, 2026
Gazebo Assembly Time by Type: Realistic Estimates
Gazebo assembly time varies far more than most product listings suggest. The honest answer depends on which structure you're building, how well your site is prepared, and how many people are on the crew.
| Gazebo Type | Typical Assembly Time | Crew Size | Difficulty |
|---|---|---|---|
| Soft-top canopy | 4-6 hours | 2 people | Beginner |
| Hardtop gazebo | 6-10 hours | 2-3 people | Intermediate |
| Permanent hardtop with anchoring | 10-16+ hours | 3-4 people | Advanced |
Soft-Top Canopy Gazebos (4-6 Hours)
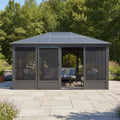
Soft-top canopy gazebos are the fastest ready-to-assemble structures on the market. A standard two-person crew can typically complete one in four to six hours, including frame assembly and canopy attachment. These structures use lightweight steel or aluminum frames with pre-drilled holes, which dramatically reduces measuring and drilling time. The canopy fabric itself adds time, wrestling panels into position on a windy day can double the estimate. Always plan for two people minimum and check the forecast before starting.
Hardtop Gazebos (6-10 Hours)
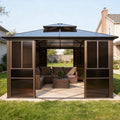
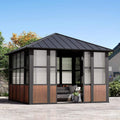
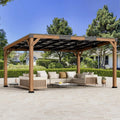
A hardtop gazebo requires six to ten hours for a two-to-three person crew. The structural components are heavier, with polycarbonate or aluminum roof panels, thicker frame sections, and more fasteners. The biggest time sink is the roof: panels must be seated precisely, sealed for weatherproofing, and secured with torque settings specified in the manual. Follow torque specs exactly, skipping them leads to panels loosening after heavy rain.
Permanent Hardtop Structures with Anchoring (10-16+ Hours)
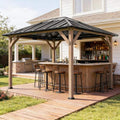
Permanent structures with concrete anchoring require ten to sixteen hours of labor, spread across at least two days. Day one covers site preparation, foundation work, and frame assembly. Day two handles roof panels, anchoring to the concrete slab, and final hardware tightening. These structures deliver the best structural integrity, but skipping anchor bolt installation is the single most consequential shortcut and most likely to result in storm damage.
Factors That Affect Modern Gazebo Assembly Time
The time estimates above assume everything goes smoothly. The factors that actually drive assembly time overruns have nothing to do with the gazebo itself.
Instructional Clarity and Parts Verification
Poor assembly manual quality is one of the most underreported sources of delay in DIY gazebo installation. Before you unbox anything, open the hardware kit and verify every part against the parts list. Missing a single fastener pack mid-assembly can cost two hours of waiting for a hardware store run.
A practical checklist before you begin:
- Count all fasteners against the parts manifest
- Verify roof panel count and orientation markings
- Locate the assembly manual and read it fully before touching a bolt
- Identify which steps require two people and plan accordingly
Inventory verification adds thirty minutes upfront and routinely saves two to three hours of frustration mid-project.
Weather-Related Delays
Wind above 15 mph makes two-person lifts dangerous and can turn a six-hour hardtop installation into a two-day job. Rain affects concrete cure time for anchored foundations, potentially adding twenty-four to forty-eight hours before you can proceed with frame assembly. Check the extended forecast before scheduling your installation. For permanent structures, plan your concrete pour for a dry window of at least forty-eight hours. According to National Weather Service guidance on concrete curing conditions, temperature and humidity both affect how quickly concrete reaches workable strength.
Crew Size and Experience
The difference between a two-person and three-person crew is significant. On a hardtop gazebo, a third person reduces assembly time by roughly a third, particularly during roof panel placement. Experience matters just as much as crew size. A first-time assembler will take two to three times longer than someone who has completed a similar structure before. If this is your first hardtop installation, budget toward the high end of the time estimate.
Gazebo Assembly Site Preparation: What to Do Before You Unbox
Site preparation determines whether your assembly goes smoothly or turns into an all-day ordeal. The gazebo footprint needs to be level, clear, and accessible before a single structural component comes out of the box.
Foundation Options: Concrete Slab, Pavers, and Gravel
A concrete slab is the most stable base for a permanent hardtop structure. If you're pouring new concrete, add three to seven days of cure time before assembly begins. Existing slabs should be inspected for cracks and level variations; anything over a quarter-inch variance across the footprint will require grinding or shimming.
Paver installation offers good drainage and a clean aesthetic. Pavers must be set on compacted gravel base and checked with a level across every row. Expect four to six hours of paver prep for a standard ten-by-twelve-foot gazebo footprint.
Gravel works for soft-top canopy structures but is not appropriate for anchored hardtop gazebos.
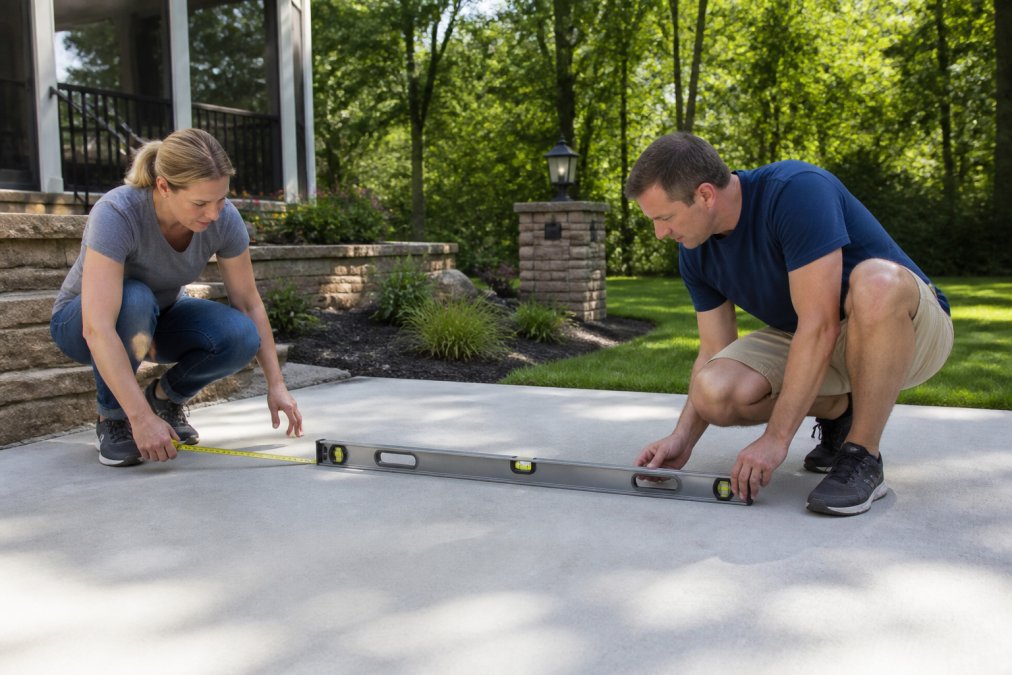
Getting Square and Level Before the First Bolt
Square and level is not optional, it's the foundation of every subsequent step. A frame assembled on an unlevel base will rack under load, misaligning doors and panels and reducing structural integrity. Use a four-foot level and string lines to verify your site before assembly begins. For concrete slabs, a laser level speeds this process significantly.
Tools Needed for Gazebo Construction
The tools needed for gazebo construction determine your pace more than most people realize. Arriving at the job without a power drill means hand-tightening dozens of fasteners, adding two to three hours and leaving most connections under-torqued.
Essential tools:
- Power drill with Phillips and hex bit set
- Socket wrench set (metric and standard)
- Rubber mallet (for seating roof panels without damaging finishes)
- Four-foot level
- Tape measure (at least twenty-five feet)
- Ladder appropriate for the roof height
- Safety glasses and work gloves
Strongly recommended:
- Torque wrench (for anchor bolt installation)
- Laser level (for large footprints)
- Second ladder (for two-person roof panel placement)
Many gazebo kits include a basic wrench, but it's usually too short to generate adequate torque on anchor bolts. Bring your own socket wrench set regardless of what the kit includes.
Step-by-Step Assembly Overview
Modern gazebo assembly follows a consistent sequence regardless of structure type. The steps below apply to hardtop gazebos, which represent the most complete installation process.
- Verify inventory, Open all boxes and count every component against the parts list before beginning.
- Prepare the site, Level the foundation, mark the gazebo footprint, and confirm anchor bolt positions.
- Assemble the base frame, Connect the bottom rail sections and square the frame using diagonal measurements.
- Install the vertical posts, Set posts in position and hand-tighten all connections before final torquing.
- Attach the upper frame and beams, This is the first two-person lift stage; have your crew ready.
- Install the roof frame, Assemble the roof structure on the ground if possible, then lift as a unit.
- Set the roof panels, Place panels according to manufacturer orientation markings and torque to specification.
- Install anchor bolts, Drill into the concrete slab and set anchor bolts per the assembly manual.
- Final torque pass, Go through every connection with a socket wrench and verify all fasteners are fully seated.
- Weatherproofing check, Inspect all roof panel seams and apply sealant where specified.
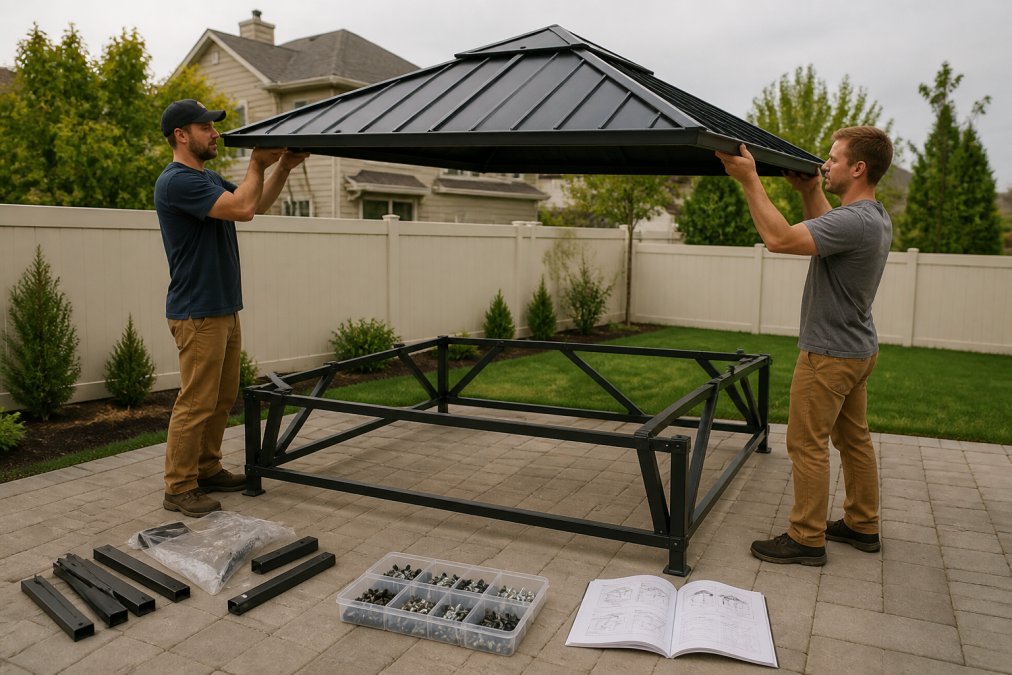
The full sequence takes six to ten hours for a standard hardtop. Steps four through seven consume the majority of that time.
Gazebo Installation Labor Cost: DIY vs. Hiring Help
Gazebo installation labor cost is genuinely variable. Professional installation crews charge by the hour or by project complexity, with rates differing significantly by region and structure type. DIY assembly saves money but costs time and carries risk if the structure is not properly anchored. Professional installation costs more but typically includes a workmanship guarantee and ensures anchor bolt installation meets local building code requirements.
According to International Building Code guidelines for permanent outdoor structures, permanent structures may require a permit depending on size and local jurisdiction. Check with your local building department before pouring any concrete or setting anchor bolts; the permit process can add one to three weeks to your project timeline.
Safety Precautions and Post-Assembly Maintenance
Safety during gazebo construction is critical. Ladder safety is the most important variable: hardtop roof installation requires working at height with heavy panels, and a two-person lift on a ladder is inherently unstable. Always have a third person stabilizing the ladder during roof work.
Key safety precautions:
- Never work on the roof structure alone
- Use ladders rated for the combined weight of the worker and the panel being lifted
- Wear safety glasses during drilling and anchor bolt installation
- Do not attempt roof panel installation in winds above 15 mph
- Verify all anchor bolts are fully set before applying load to the structure
Post-assembly maintenance is where most homeowners lose value. For aluminum and polycarbonate hardtop structures, the maintenance schedule is straightforward.
Annual maintenance checklist:
- Re-torque all structural fasteners (seasonal temperature cycling loosens connections)
- Inspect roof panel seams and reapply weatherproofing sealant where needed
- Check anchor bolts for any movement or corrosion
- Clean roof panels with mild soap, avoid abrasive cleaners that damage polycarbonate coatings
- Inspect the frame for any surface corrosion and touch up with appropriate paint or sealant
Post-assembly maintenance time runs roughly two to three hours per year for a standard hardtop structure.
The Backyard Sanctuary Supply LLC collection is selected specifically for weather-resistant construction that holds up across all seasons. A structure that's correctly anchored and annually maintained will serve your outdoor space for many years without significant repair costs. For additional guidance on outdoor structure maintenance standards, the Consumer Product Safety Commission guidelines for outdoor structures provides useful reference material on structural safety requirements for residential installations.
Gazebo assembly is a bigger project than most homeowners anticipate. The gap between a smooth installation and a frustrating one almost always comes down to preparation: site leveling, parts verification, the right crew, and the right tools. Backyard Sanctuary Supply LLC offers a curated selection of premium gazebos and outdoor structures built for lasting performance, with weather-resistant materials and clean modern design. Explore the Collection and find the structure that fits your space, your timeline, and the outdoor living experience you're building toward.
Frequently Asked Questions
How long does it take to assemble a 10x12 gazebo?
A 10x12 soft-top canopy gazebo typically takes two people 4 to 6 hours to assemble on a prepared, level surface. A hardtop version of the same footprint runs 6 to 10 hours because the roof panels are heavier and require more precise alignment. Add 1 to 2 hours if you're installing anchor bolts into a concrete slab for the first time. Gazebo assembly time increases when the assembly manual is unclear or when hardware sorting hasn't been done in advance.
Is it possible to assemble a modern gazebo alone?
Technically possible for small soft-top canopy models, but not recommended. Most modern hardtop gazebo frames include roof panels that require a two-person lift for safe positioning. Working alone slows gazebo assembly time significantly and raises real ladder safety risks when securing upper structural components. A second person also catches alignment issues before fasteners are tightened. For any structure over 10 feet wide, plan for at least two adults throughout the entire installation.
What factors cause the most gazebo assembly delays?
The three biggest delays are missing or miscounted hardware, an unlevel or unprepared foundation, and poor weather conditions. Discovering a missing fastener mid-build can halt progress for days if a replacement must be shipped. An unlevel concrete slab forces repeated shimming and re-checking. Wind above 15 mph makes two-person roof panel lifts unsafe. Spending 30 minutes on inventory and parts verification before starting is the single most effective way to protect your installation timeline.
How much do people charge to assemble a gazebo?
Gazebo installation labor cost varies by region, structure complexity, and whether foundation work is included. Basic assembly-only services for a ready-to-assemble kit typically run a few hundred dollars for a small soft-top and can exceed a thousand dollars for a large hardtop requiring anchor bolts and concrete work. Always get an itemized quote that separates site preparation from frame assembly, and confirm whether the crew handles parts verification and post-assembly torque checks before finalizing any agreement.
This article was written using GrandRanker